Organize Intake in
One Client Workspace
Add client records, send portal invitations, request information, and collect documents. Conditional questionnaires and scheduled follow-ups are coming soon.
What's Included
Client records
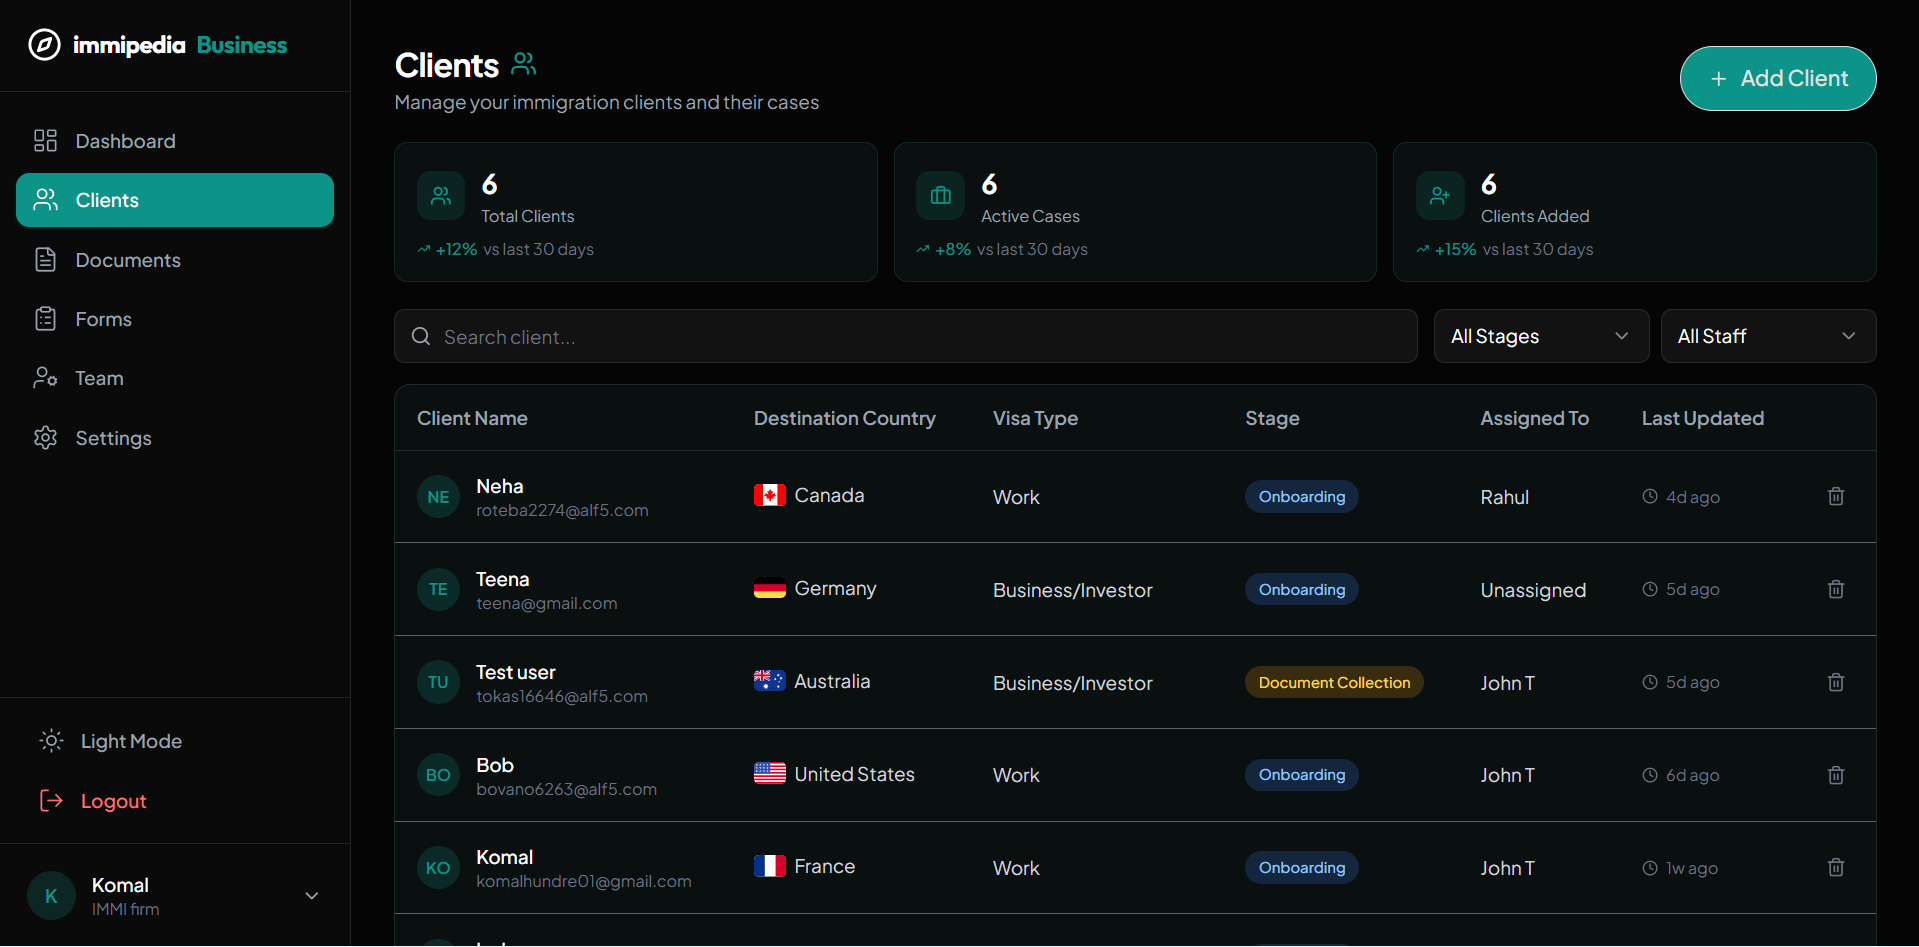
Add a client by name and record their destination, visa pathway, and current case stage.
Portal invitations
Invite clients by email to their dedicated portal, where they can provide information and upload requested documents.
Information requests
Choose the fields and questions you need the client to complete. Your team reviews the responses.
Automated follow-ups - coming soon
Scheduled follow-ups and conditional questionnaires are planned. Current document reminders are sent manually to the client portal.
Client records, checklist items, and case progress in one place
What this means for your practice
Keep information together
Review profile details, requested information, documents, and messages in the case workspace.
Collect at the client's pace
Clients can respond through their portal after accepting an invitation.
Keep professional review
Your team checks information and document requirements before acting on a case.
Shape the next version
Tell us which intake questions and follow-up rules would help your practice.
Related Solutions
Make the first client conversation count.
Introduce the workspace in a manageable sequence and use one real workflow to confirm how your team wants to work.
Set up the workspace
Create your firm account, review your details and invite the colleagues who will work on the initial case.
Bring in a client
Create a client record and confirm the contact details, destination and case information with your team.
Agree the next step
Assign responsibility, prepare the document checklist and decide when the case will next be reviewed.
One clear next step.
Then the next.

Ready to Get Started?
Streamline your immigration practice with immipedia — start your free account today.